Filters
Asset Type
Products
Solution
Install - How to install AI Dashcam
How to install AI Dashcam
Introduction
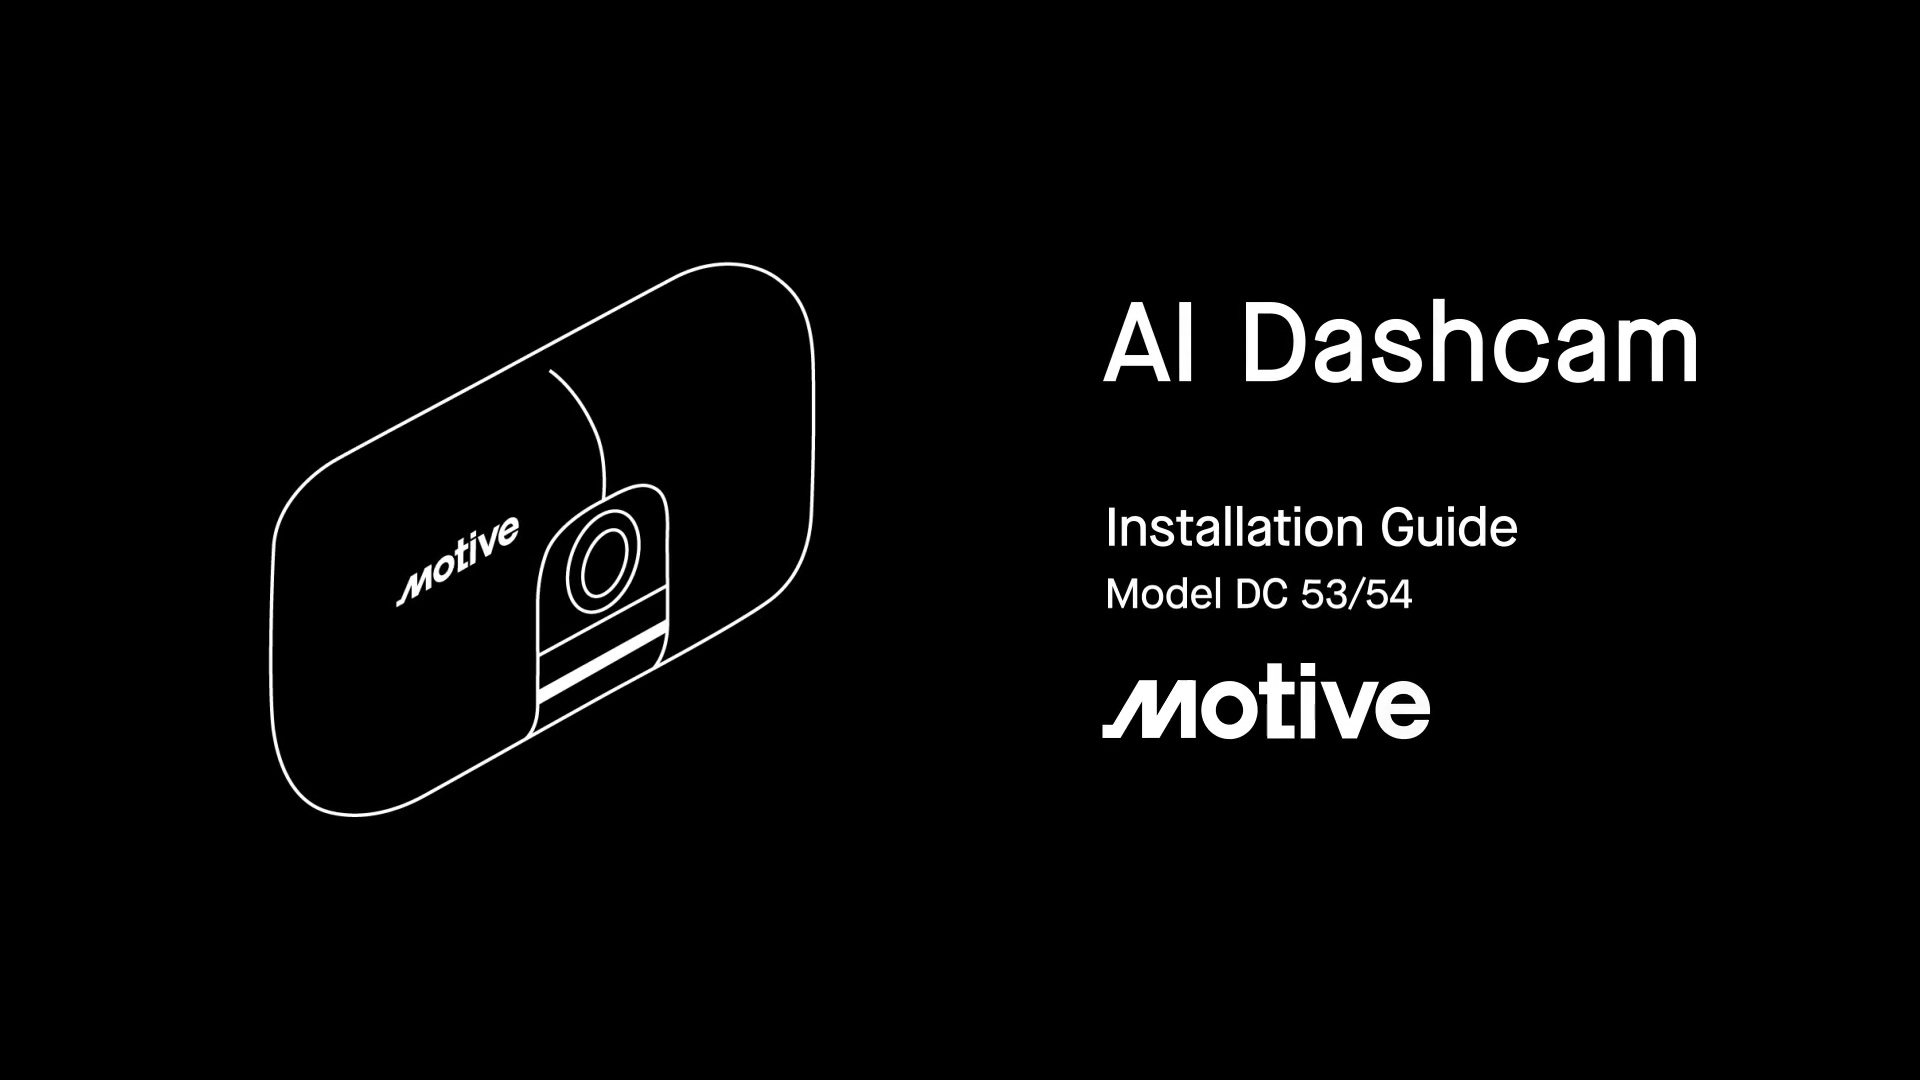
The Motive AI Dashcam works alongside the Motive Vehicle Gateway to instantly record video footage when critical events occur such as hard braking, hard cornering, rapid acceleration, and unsafe driving behavior. Learn more about which dashcam you have.
What comes in the box?
- AI Dashcam
- Allen Key Wrench
- Alcohol Swabs
- Zip Ties
- Cable Clips
- Extra Adhesive Sticker
Tools
- AI Dashcam
- Motive Driver App
- Motive Fleet Dashboard
- Vehicle Gateway - Model LBB 3.55 or newer
Steps: Installing the AI Dashcam
- Connecting your AI Dashcam
- Selecting a mounting location
- Adjusting the AI Dashcam Mount
- Mount the AI Dashcam
- Route the cable
Connecting your AI Dashcam
| Note: Turn your vehicle's Engine ON before installing and mounting the AI Dashcam. |
1. Clean the USB side of the Vehicle Gateway with the provided alcohol swab.
3. Connect the USB cable to the Vehicle Gateway and press firmly for 10 seconds.
|
Note: If you see a pulsating Blue LED, your AI Dashcam is getting updated. Keep the truck's engine on for connecting with the Driver App.
Note: You will not see Manage Dascham on the Driver App unless the dashcam light is stable blue. |
Selecting a mounting location
4. We recommend mounting on the top center of the windshield so it doesn’t obscure the driver’s view of the road.
5. Before installing, peel off the protective stickers from the dashcam.
Adjusting the AI Dashcam Mount
6. Loosen the main screw of the mount with your finger or use the included Allen key.
| Note: Don't remove the adhesive sticker on the mount at this stage. |
| Note: To test your mounting location please read our How to test the AI Dashcam article. |
Mount the AI Dashcam
8. Peel the adhesive sticker off the mount on the road-facing side of the dashcam.
| Note: The road-facing side does not contain the Quick Capture button. |
Route the cable
10. Secure the USB cable around the edge of your windshield using the provided cable clips.
You’ll see a white LED progress bar indicating that the camera is starting up for the first time. The camera will update its software.
11. When the LED status bar turns solid blue, the camera has completed updating and is ready to start recording. You will receive the following audio alert: “AI Dashcam is activated!”
| Note: Follow the Set up AI Dashcam article to test if you have accurately installed and mounted your AI Dashcam. |


